Saturday, 7 June 2014

Father's Day Card 1


Hi Bloggers,

Father’s Day is just around the corner so I thought I’d post a few cards I made.
The first one incorporates a father and son photo.
 
I cut the background mat using my Cricut machine and the Elegant Edges cartridge. Then I used a Tim Holtz embossing folder to create the embossed design.
The car is from the Holiday Cakes cartridge and I highlighted the head lights with Glossy Accents.
 
I used the “waste” pieces from the grill to accent the corners of the card.
 
I personalised the card further by adding the father’s initials (using stamps) as the registration number.

The “World’s Greatest Father” banners were cut using the Holiday Cakes cartridge.

I hope you like my design. I have more to share with you tomorrow.

Thanks for stopping by,
Pam xx

Thursday, 5 June 2014

Summer Fun Mini Book


Hi Bloggers,

Today I’d like to share with you an 8” x 8” mini-book I made to celebrate the fun my son had last summer.
 
The outside cover has a layer of crackle paint and I used Tim Holtz Distress Embossing Powder on the title (chipboard) letters.
 
I used scallops (mainly cut with my Cricut) and Martha Stewart punches throughout the book. On these first two pages I have also used stamps and rub-ons:


The second set of pages show how much my son loved driving the tractor and I used my Cricut machine to cut a tractor, which I then covered with Glossy Accents. I also threaded ribbon through the punched edges and highlighted the pages with liquid pearls.

 
On the third set of pages I used the punches to make a border strip and my Cricut to cut the boy, dog and bones silhouettes. I used bone shapes to make flower embellishments.

 
The wine bottles and glasses on the next set of pages are stamped images and the quad bike is cut with my Cricut. All have a coating of Glossy Accents.


I made a pocket on the final set of pages and tucked a tag inside. My son drew the picture on the right hand page. 

 
Hope you like my mini book.
Thanks for stopping by,
Pam xx
 

Tuesday, 3 June 2014

More Cropping Fun


 Hi Bloggers,
I recently attended a Merly Impressions crop (details here) and, as usual, I was having way too much fun eating cake and shopping. This time, Chrissy had prepared a double page spread and it was absolutely gorgeous. I thoroughly enjoyed making these pages.

I haven't yet added the journaling as I intend to use these pages in my "Book of Me".
I have also created pockets behind the photos and slipped in "tags" so I can add extra journaling later.

Here are some close ups of the flowers that I fussy cut:

 
Here are the pages individually: 


Hope you like them.
Thanks for stopping by.
Pam xx

Tuesday, 18 March 2014

Layout Using Kaisercraft "The Looking Glass" Collection

Hi Bloggers,


I made another layout using the gorgeous Kaisercraft “The Looking Glass” collection of papers, stickers and stamps. This layout uses the same collection as my last layout but I’ve picked out a different colour combination and added a few distressing techniques:
I used one of the border stickers to make my title, stamping letters in the circles of the pattern.
I used the banner and butterfly stickers to create embellishments, sticking them first onto card, then layering and shaping as shown:
The stamps in this collection are so versatile. I’ve used them on the background and also as embellishments. Some stamped with black ink and some with gold embossing powder.

I have also used gold embossing powder sprinkled onto the background and around the photo corner frames.


I wanted some black mesh and didn’t have any. So I cut a piece from an old wash net (the ones you put your socks in to keep them together in the washing machine), and dyed it with a black ink pad:
I hope you like my layout.
Thanks for stopping by.
Pam xx


Monday, 17 March 2014

Published Layout

Hi Bloggers,

I have some very exciting news....

I was a runner up in the "Scrapbooker of the Year 2013" competition for the Scrapbook Magazine and this is the layout published in the current issue of the magazine (issue 79):
I used the gorgeous Kaisercraft “The Looking Glass” collection of papers, stamps and acetate.

This is a close up of some of the flowers I cut from the paper, layering for a 3D effect.
I cut a large circle and punched the edge to create a large mat. I used a thin paper strip to weave through sections of the punched edge and cut circles from the patterned paper to create negative space.
I used the same punch set to make the mat for the photograph and again used paper strips to weave through some of the punched edge.
The sentiment is cut from the acetate sheet and layered with the matching frame on the patterned paper (with the centre cut out).
I hope you like my layout.
Thanks for stopping by.
Pam xx

Monday, 3 June 2013

Cricut Sample Fonts

Hi Bloggers,

I don't know about you, but when I'm searching for the perfect Cricut font to match my project, I often struggle to visualise the font from the images in the handbooks.

I came up with this idea:


I cut strips of white card 12" x 1 1/2" and punched a hole in the corner so they would hang up.
I cut letters to spell the name of the Cricut cartridge used, along with any shadows and variations. I also cut samples of the numbers on the cartridge.
As much as I could I tried to cut them all at 3/4" so I had a good comparison. Some I had to cut larger because they were intricate.

Spelling the name of the cartridge made it a very easy and quick reference.
Here is a picture of some of the strips.

Here's a close up.

I threaded a book ring through the holes and then it was ready to hang up.

I still have some cartridges to do so it's very much a work in progress. I can also add to it as I purchase more cartridges and it's a great way to use up scraps of card.

I hope you like my idea.
Thanks for stopping by.
Pam xx

Sunday, 12 May 2013

Wine and Flowers 40th Birthday Card

Hi Bloggers,

Today I'd like to share a card I made for a 40th Birthday.

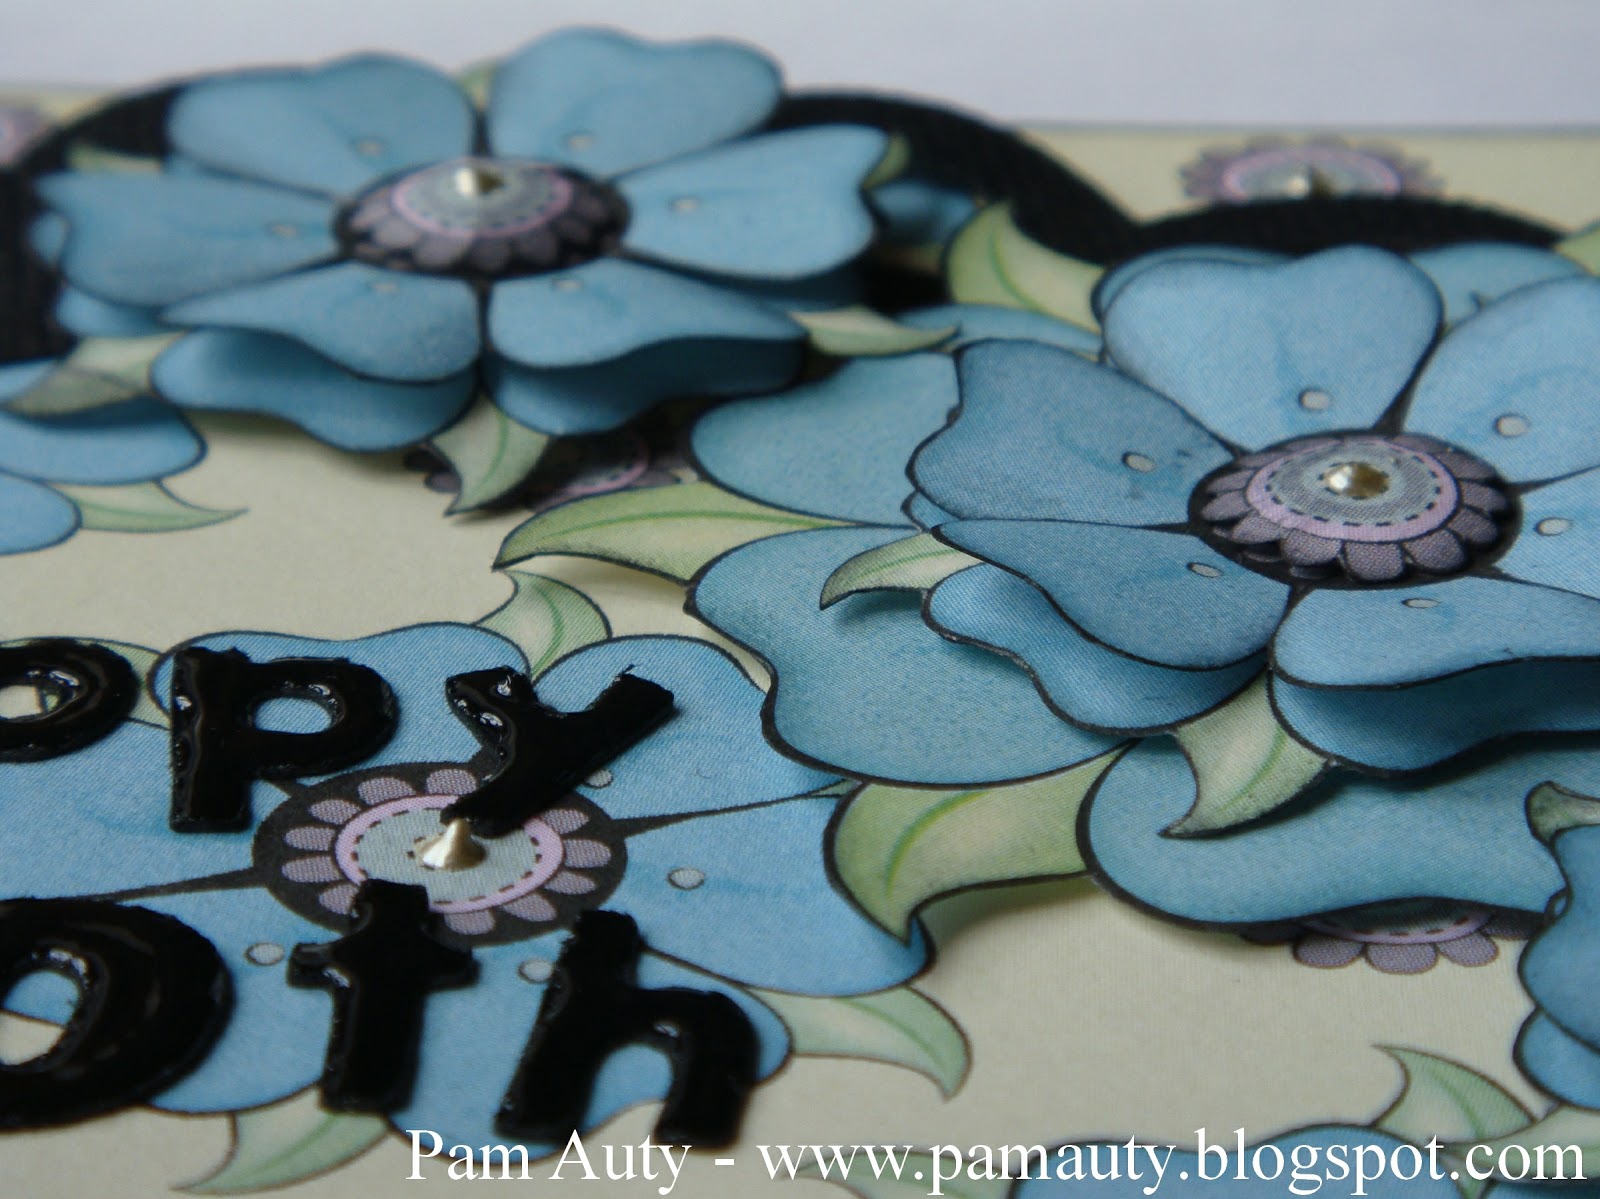
The large frame is from the Cricut Elegant Edges cartridge and the letters are from the Mickey Font cartridge. I covered the letters with Glossy Accents.
I stamped the wine bottle and glass, and coloured them using Promarkers. I also used Glossy Accents on the "wine" sections.

I cut several flowers from the patterned paper and layered them as shown, creating a cluster of 3 in the top right of the frame. I also applied some Ranger Liquid Pearls in the centre of the flowers, and on the centre of the flowers on the background.

Here's a close up of the flowers to show the layering.

Hope you like it.
Thanks for stopping by.
Pam xx