Showing posts with label Mickey Font cartridge. Show all posts

Sunday, 12 May 2013

Wine and Flowers 40th Birthday Card

Hi Bloggers,

Today I'd like to share a card I made for a 40th Birthday.

The large frame is from the Cricut Elegant Edges cartridge and the letters are from the Mickey Font cartridge. I covered the letters with Glossy Accents.
I stamped the wine bottle and glass, and coloured them using Promarkers. I also used Glossy Accents on the "wine" sections.

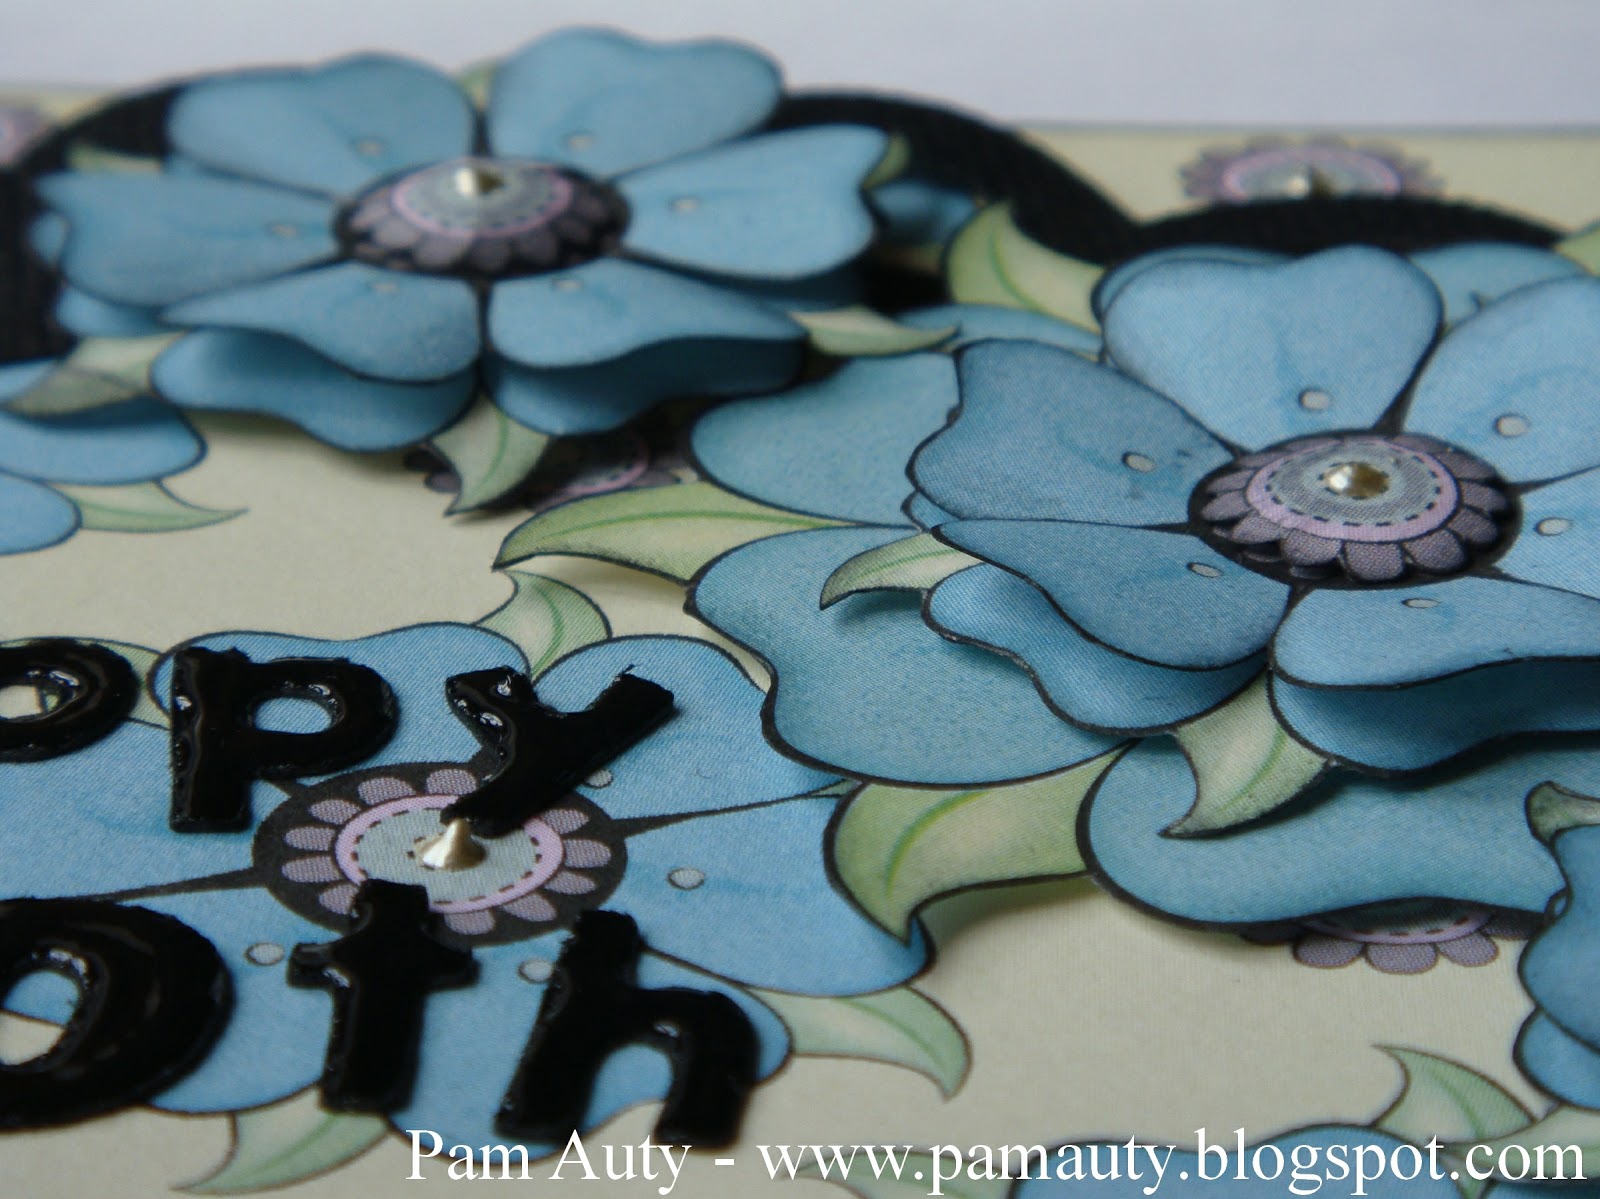
I cut several flowers from the patterned paper and layered them as shown, creating a cluster of 3 in the top right of the frame. I also applied some Ranger Liquid Pearls in the centre of the flowers, and on the centre of the flowers on the background.

Here's a close up of the flowers to show the layering.
Hope you like it.
Thanks for stopping by.
Pam xx

Tuesday, 17 July 2012

Holey Flower card

Hi Bloggers,

I've been very busy over the last couple of weeks as I started a new job (very proud am I!!) and have also been working on a couple of projects for a later date.

Today I'd like to share a card that I made for a friend. it's adapted from a card I designed for one of my Gypsy classes.

The flower was designed on my Gypsy using an image from the Mother's Day Bouquet cartridge. I then added circles to the petals.
I used the same design but cut smaller for the "scrunched" flower, securing with a brad.

The leaves were also from the Mother's Day Bouquet cartridge and the letters from Mickey Font.

The original card:

Hope you like them.
Thanks for stopping by.
Pam xx

Tuesday, 13 March 2012

Easter Egg Hunt Invitation

Hi Bloggers,

Today I would like to share with you an invitation I made for an Easter Egg Hunt.
I was asked to make a shaped card but did not have a suitable image. So I designed my own using my Gypsy and based it on an image from the Simply Charmed cartridge.


The chick pulls out from the egg.


Most of the designs were made up of basic shapes.
The chick was an egg shape from the Gypsy Wanderings cartridge, along with ovals from the George and Basic Shapes cartridge.

This is a close up of the shapes that make up the chick design:

This is a close up of the actual cut lines:

Same for the feet. This is a close up of the shapes that make up the design:

This is a close up of the actual cut lines.

The eyes and beak were circles and a triangle.

The cracked egg was made using a half circle shape from the Gypsy Wanderings cartridge (I had to use the "hide" feature to hide parts of the design) with triangles cut from the top edge. The triangles are from the George and Basic Shapes cartridge.

Once cut, I embossed the cracked egg with the Swiss Dots Cuttlebug embossing folder.

I hope you like it.
Thanks for stopping by.
Pam xx

Tuesday, 7 February 2012

Chip and Dale Disney Layout

Hi Bloggers,

Today I thought I'd share with you a layout from my "on-going" Florida album.
I'm slowly working my way through the holiday photos and this page is for our "meet and greet" with Chip and Dale at Epcot.


The journaling is on a tag, hidden behind the larger central photo.
I coloured the ribbon with Distress Ink.


The Chip and Dale characters, clouds, sun, tag and tree were cut with my Cricut.
The fence, photo mats, frames and title were all designed using my Gypsy and cut with my Cricut.


I cut (by hand) leaves from within the design on the patterned paper and layered them to create a 3-D effect.


Hope you like my layout.
Thanks for stopping by.
Pam xx