Monday, 13 February 2012

Steampunk Birthday Card

Hi Bloggers,

I don't know about you, but I struggle to find the right images for teenage boy cards.
I finally decided on a Steampunk theme (as I love it anyway) when I came across a fantastic skull stamp.

The background "frame" was made using a cogs and gears border stamp with Black Soot Distress Ink.


The smaller background was made using a crackle stamp and Weathered Wood Distress Ink.
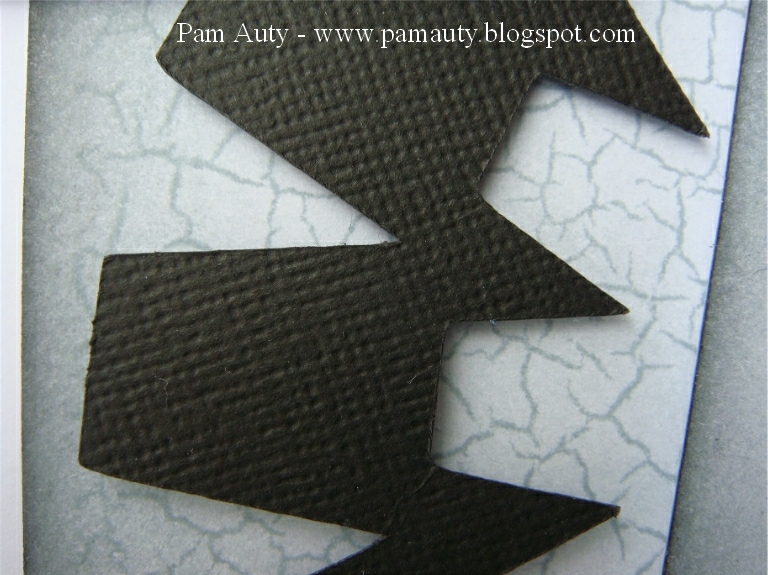

The large cog frame and smaller cogs were all designed on my Gypsy and cut on my Cricut. Some have also been sprayed with silver mica.


Here's a close-up of the fab skull stamp.


Hope you like it.
Thanks for stopping by.
Pam xx

Tuesday, 7 February 2012

Chip and Dale Disney Layout

Hi Bloggers,

Today I thought I'd share with you a layout from my "on-going" Florida album.
I'm slowly working my way through the holiday photos and this page is for our "meet and greet" with Chip and Dale at Epcot.


The journaling is on a tag, hidden behind the larger central photo.
I coloured the ribbon with Distress Ink.


The Chip and Dale characters, clouds, sun, tag and tree were cut with my Cricut.
The fence, photo mats, frames and title were all designed using my Gypsy and cut with my Cricut.


I cut (by hand) leaves from within the design on the patterned paper and layered them to create a 3-D effect.


Hope you like my layout.
Thanks for stopping by.
Pam xx

Tuesday, 31 January 2012

Flower Thank You Card

Hi Bloggers,

I've been a little busy as we're preparing to move to a new home, but I couldn't resist a play with the Cricut Flower Shoppe cartridge and made a thank you card that I'd like to share.

For the background I used a resist technique with a crackle stamp (clear powder on white card).
Then I used Distress Ink in Dusty Concord and Worn Lipstick to colour over the top and reveal the resist pattern.


The scallop frame is from the Elegant Edges cartridge and I inked the edge with Worn Lipstick Distress Ink.
I welded letters from the Gypsy Font cartridge to create the "Thank You" text.


The flower layers were all cut with the Flower Shoppe cartridge. I used various coloured card and then stamped some with the same crackle stamp that I used for the background.
The centre of the flower is one of the rolled flowers from the Flower Shoppe cartridge.


I hope you like it. Please feel free to leave a comment.
Thanks for stopping by.
Pam xx

Monday, 9 January 2012

Steampunk Layout with Hidden Journaling

Hi Bloggers,

I'm loving Steampunk at the moment and would like to share with you a layout I made for my Family Tree album.


I used plenty of distressing techniques to give the layout a grungy feel and stamped steampunk images directly onto the background paper.    

I cut a large cog shape and used it for the journaling, hiding it between the layers of paper. The "pull tab" is made from a shrink plastic cog.

My Cricut and Gypsy were used to design and cut the various cogs and gears.

I adore these mannequin stamps and layered them using silicone type glue before adding cotton, fancy brads, pearls and grungeboard wings.


The title letters are grungeboard pieces covered with distress ink and distress embossing powder.

I hope you enjoyed this layout.
Thanks for stopping by.
Pam xx

Sunday, 1 January 2012

Happiness Is...

Hi Bloggers,

Happy New Year - I hope 2012 brings you plenty of good times and happiness.
I seldom make new year resolutions, but this year I have resolved to use some of my beautiful papers instead of just stroking them and buying more.

So, here's my first layout - based on weaving and 3-D decoupage.

The background is a 4-row weave pattern, using strips of the same paper with inked edges for a little definition.


The floral embellishments are hand cut from patterned paper and layered. I used 3 sheets of the same paper to do this.


The large frame, scallop photo mat and title were all made using my Cricut and Gypsy.


I hope this will inspire you to get out all those old papers and play.
Thanks for stopping by.
Pam x

Friday, 9 December 2011

Noel Card

Hi Bloggers,
Today I wanted to share with you a card inspired by Tim Holtz Tag 1. (Tim's Tag here)
I don't have many of Tim's dies so I used my Cricut and Gypsy.


The background is using the Snowflakes Cuttlebug embossing folder.

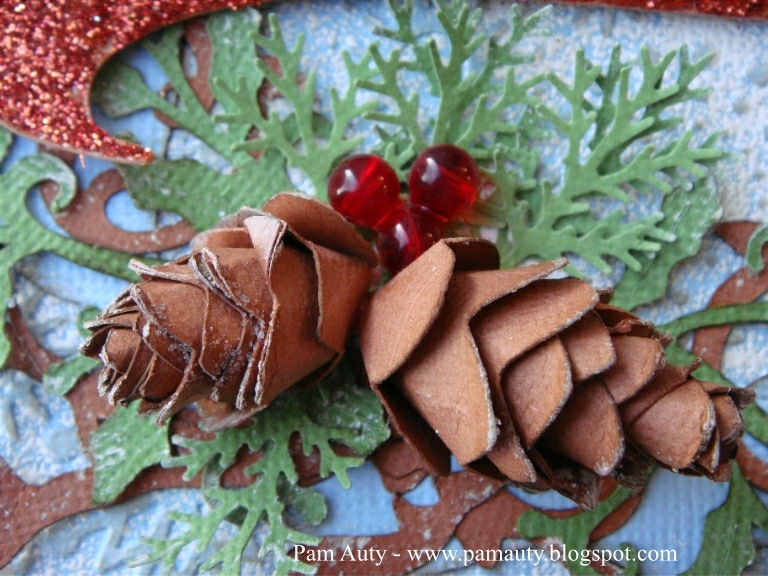
I made the pinecones using one of the spiral flowers from the Cricut Flower Shoppe cartridge.
The branch and holly leaves are a mixture of images from the Cricut Christmas cartridge and a Martha Stewart branch punch.


I welded letters together using my Gypsy and cut them from brown card before covering with copper coloured glitter (using Blackletter cartridge - one of my favourites!).


I hope you like it.
Thanks for stopping by.
Pam xx

Friday, 2 December 2011

Snow Scene Easel Card

Hi bloggers.
Just a quick post to show you the card versions of my winter scene layout (the layout is my previous post).
Most of the techniques are the same but I used Artemio snowflake stamps (I made the cards before I purchased the Cricut Cuttables Stamp Material that I used in my layout).


Close up of details.


Same card design but using a snowman instead of the reindeer.


Hope you like them.
Thanks for stopping by
Pam xx