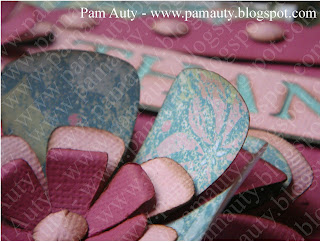
I was recently looking through some of my old scrapbooking "stash" and came across a few "Class-in-a-bag" kits. So I decided to have a play with one.
I changed things around a little bit - I turned the layout sideways and then the photo mat sideways (as I wanted to use a landscape photo) - and this is what I came up with:
I followed the instructions for the envelope, then altered it, adding ink and alphabet stamps.
I distressed the edges of the papers using a tool and plenty of ink. I also pierced holes along the edges, threading floss through some to add stitching.
More stitching was added to the photo mat and I cut a triangle from patterned paper, placing it on the corner of the background card.
I cut individual letters from the pattrned paper and stuck them randomly over the background card.
I used a metal ribbon slider from my stash with strips of the card. I just love metal embellishments!
I enjoyed playing with this kit and will be trying more in the future.
Hope you like it.
Thanks for stopping by.
Pam xx


